
Magento 2 Product Import
-
Steps for the Product Import in Magento 2
This post shows step by step how products can be imported quickly and easily into the webshop as a CSV file. For simplicity we use the Magento demo data, which can also be downloaded completely in CSV format from our Github repository. This article assumes that the Magento instance is already installed either with demo data or with bin/magento sampledata:deploy. Unlike the Magento Standard Import, Pacemaker expects the product data to be delivered in the standard CSV format, but adjustments can be made via the configuration if necessary.
The import of products takes place in three simple steps and ensures at all times that it does not collide with other running processes.
Step 1: Configure the Pipeline
Step 1 involves customizing the product import to the current conditions and uploading the CSV files to the server. By current conditions we mean if new products should be added, replacing or deleting existing ones. Furthermore, when creating new products, you can configure a specific mode to be used. Besides the standard mode, there is the option to check on column level (Change-Set Detection) or even on row level (Timestamp Detection) during the import, in order to see if the data of the product has changed at all.Depending on the complexity of the data, both accelerate the import up to a factor of 4. The Timestamp Detection implies that the updated_at date in the CSV is set and up-to-date, which is simply not possible in many PIM + ERP systems, because they do not carry any information about the last modification date of an entity.
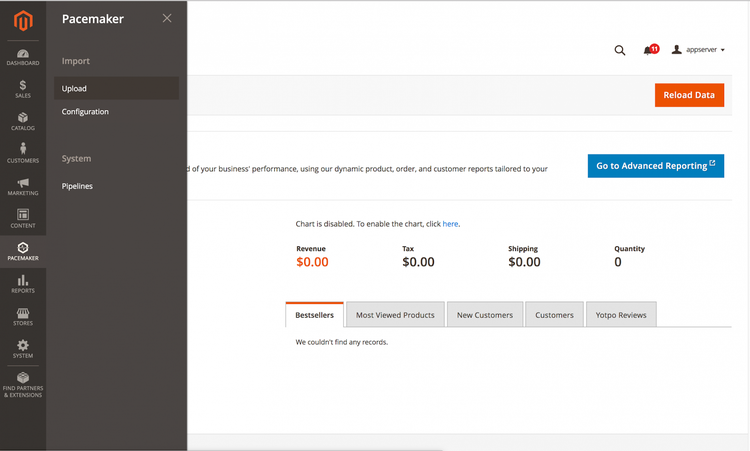

- Select the menu item Pacemaker > Import > Upload in the main navigation of the Magento Admin
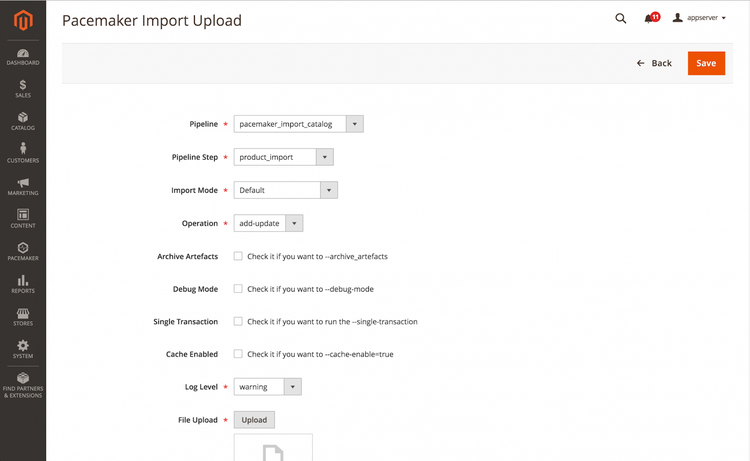
- Select the pipeline pacemaker_import_catalog to configure the product import
- A new drop-down appears showing the step which is to be configured, select the entry product_import
- Once again a new step appears, here you can configure the mode for the import, the Default value can be adopted
- With additional check boxes functions such as artifact and transaction handling, log level, debug mode and cache may be configured, the defaults can be adopted
- Finally, you can drag and drop the files to be imported into the upload area and complete the upload by clicking the Save button in the upper right-hand area
Step 2: Start import (Creating the .OK file)
Configuring the import and uploading the CSV files with the product data is the first step. Once completed, a so-called .OK file must be created, which signals to Pacemaker that the CSV file has been completely uploaded to the server. This ensures that the import, which is executed asynchronously via a pipeline, does not start during the upload. The following steps are necessary to create the .OK file.
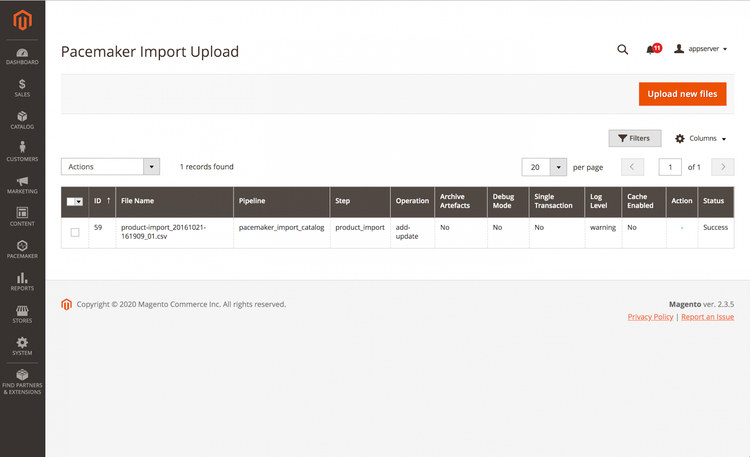
- Now an additional entry with the configuration made in step 1 appears in the entries list, whereby it has the status Waiting
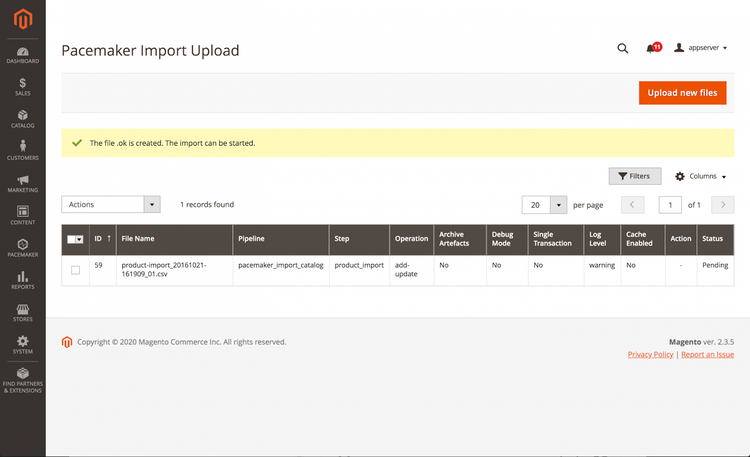
- To create the .OK file, just click on the OK button. The entry has the status Pending from this point on, which means that the import is waiting to be processed by a pipeline
- Creating the .OK file signalizes Pacemaker that the pipeline that performs the import process can be started
- From the time when the pipeline has actually started the import process, the status changes to Running
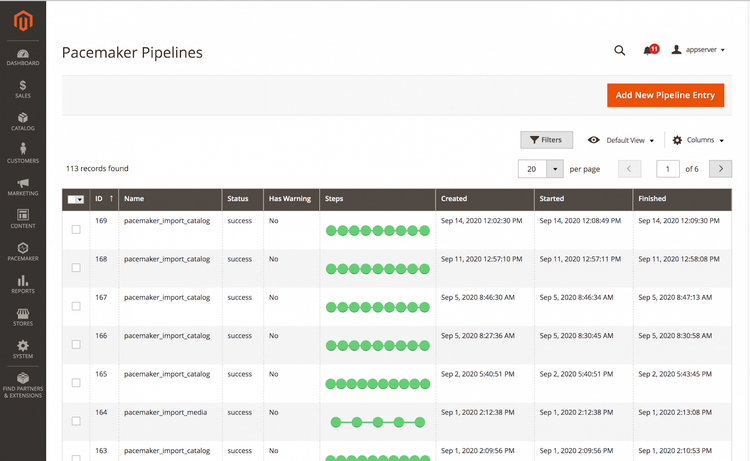
- After the pipeline is successfully completed, the status of the upload is set to Success
Step 3: Monitor the Import Process
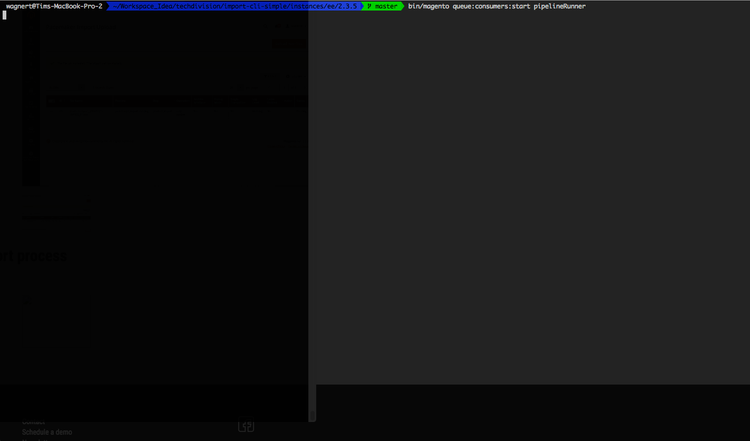
Contrary to Magento Standard or other modules, the import process is performed asynchronously via a so-called pipeline. This pipeline, supported by the distributed architecture of Pacemaker, could also be executed on one or more other servers. After the .OK file has been successfully created, a new pipeline is automatically created consisting of several steps. As a first action, the new pipeline stops the Magento Indexer and ensures that the import process does not collide with the indexing process, which is one of the most common problems of long-running import processes in Magento. After a successful import, but also if the import is aborted, the Indexer is reactivated by Pacemaker.
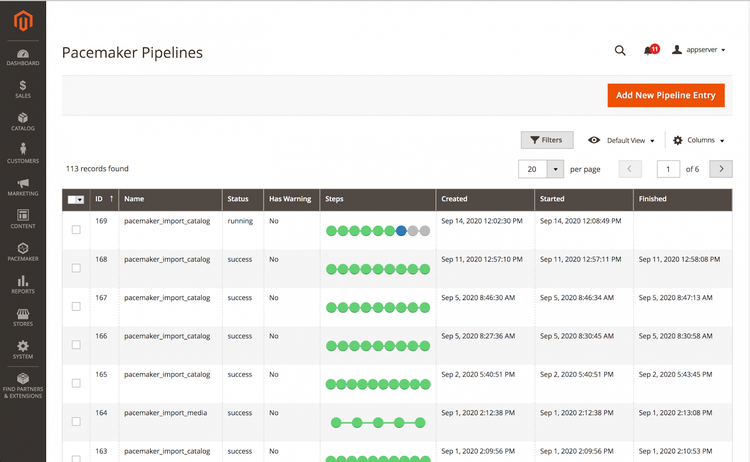
- Once the .OK file has been created in the previous step, select in the main navigation in the Magento Admin the menu item Pacemaker > Systems > Pipelines
- All pipelines, including the currently running ones, are now displayed in the overview. Successfully completed pipeline steps are shown in green, steps that are currently being processed are shown in blue and steps that had problems during processing are shown in red.
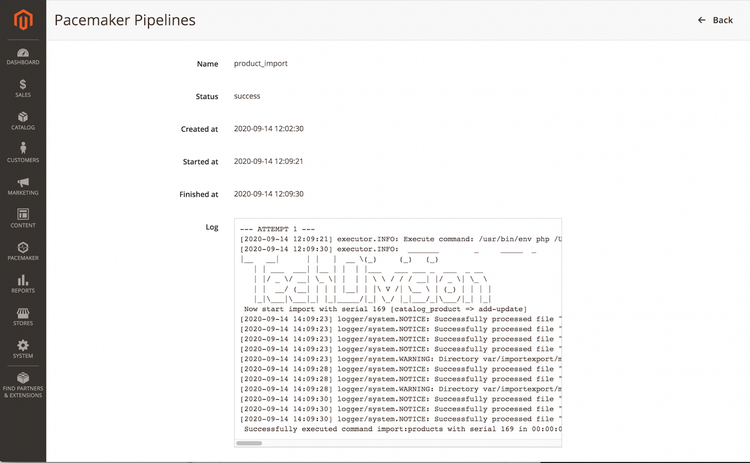
- By clicking on the pipeline step, e.g. on product_import, a detail page with additional information about the respective step is opened.
- The console output of the respective step is displayed in the Log field when importing data. If errors occurred here, you can quickly and easily find out what the problem was
Result & Benefits
Importing via the pipelines, Pacemaker ensures at all times that no other processes, such as the indexer, collide with the import process. In reality, especially with larger systems, nobody uploads the product data to the Magento Admin, but rather the data is automatically provided by a PIM (Akeneo) or ERP (SAP) system on the server and then automatically processed by Pacemaker.
After the indexers, which are reactivated after the import process, have indexed the imported products, the catalog in the store is up-to-date again.
